Laissez-faire-Flair mit Ansible
Mit dem Open Source Softwarepaket Ansible kann man sehr gut mehrere Server gleichzeitig bedienen. Dabei gibt man nicht, wie sonst üblich, konkrete Befehle aus, die ausgeführt werden, sondern man gibt nur den Zielzustand vor und Ansible macht den Rest. Ich habe mich schon länger dafür interessiert, aber noch nicht die Zeit gefunden mich damit auseinander zu setzen. Bis jetzt.
Ansible Minimalsetup
Um mit Ansible beginnen zu können, braucht es nicht viel. Ein Linuxrechner mit dem Paket Ansible und Python3 genügen. Auf den Zielrechnern braucht es nur einen SSH-Zugang für Ansible (und auch Python3, wenn ich mich nicht täusche, aber das war bis jetzt überall installiert).
Im Projektordner erstellt man die Datei namens ansible.cfg mit folgendem Inhalt:
[defaults]
private_key_file = /home/username/.ssh/id_ed25519
inventory = ./inventory/hosts
Hier wird der öffentliche SSH-Schlüssel referenziert. Das wird noch wichtig. Hier sieht man wie das geht. LearnLinuxTV hat auch ein Video zu SSH-Keys und Ansible. Seine Ansible Serie ist überhaupt sehr empfehlenswert.
Der nächste Punkt das sog. “Inventory” (hier einfach “hosts” genannt) legt die einzelnen Maschinen und ihre Gruppenmitgliedschaft fest:
[debian]
192.168.0.46
192.168.0.47
192.168.0.48
Hier einfach ein paar Debian VMs, das Inventory kann so einfach oder komplex (mit dynamischer Befüllung!) sein, wie man möchte.
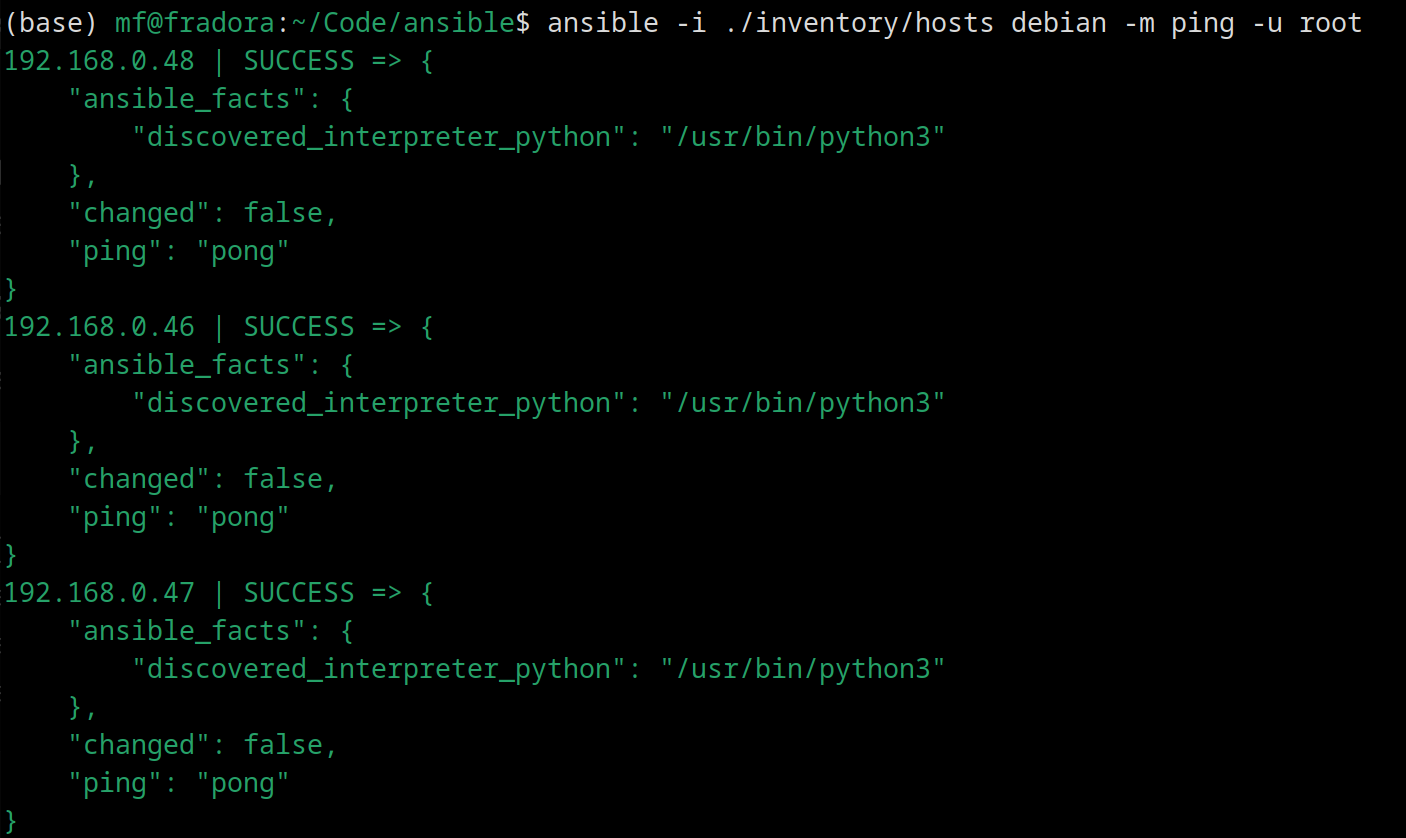
Damit kann man eigentlich schon loslegen und mit sog. “Ad-Hoc-Befehlen” sein Unwesen treiben. Hier ein einfacher Ad-Hoc-Befehl für einen Ping:
ansible -i ./inventory/hosts debian -m ping -u rootAnschließend braucht es noch eine Anleitung, das “Playbook”. In diesem Fall für ein Update von allen Maschinen in der Gruppe debian:
- hosts: debian
  become: yes
  tasks:
    - name: Ensure up-to-date Cache and Upgrade
      apt:
        update_cache: yes
        upgrade: 'yes'
So schaut es aus:
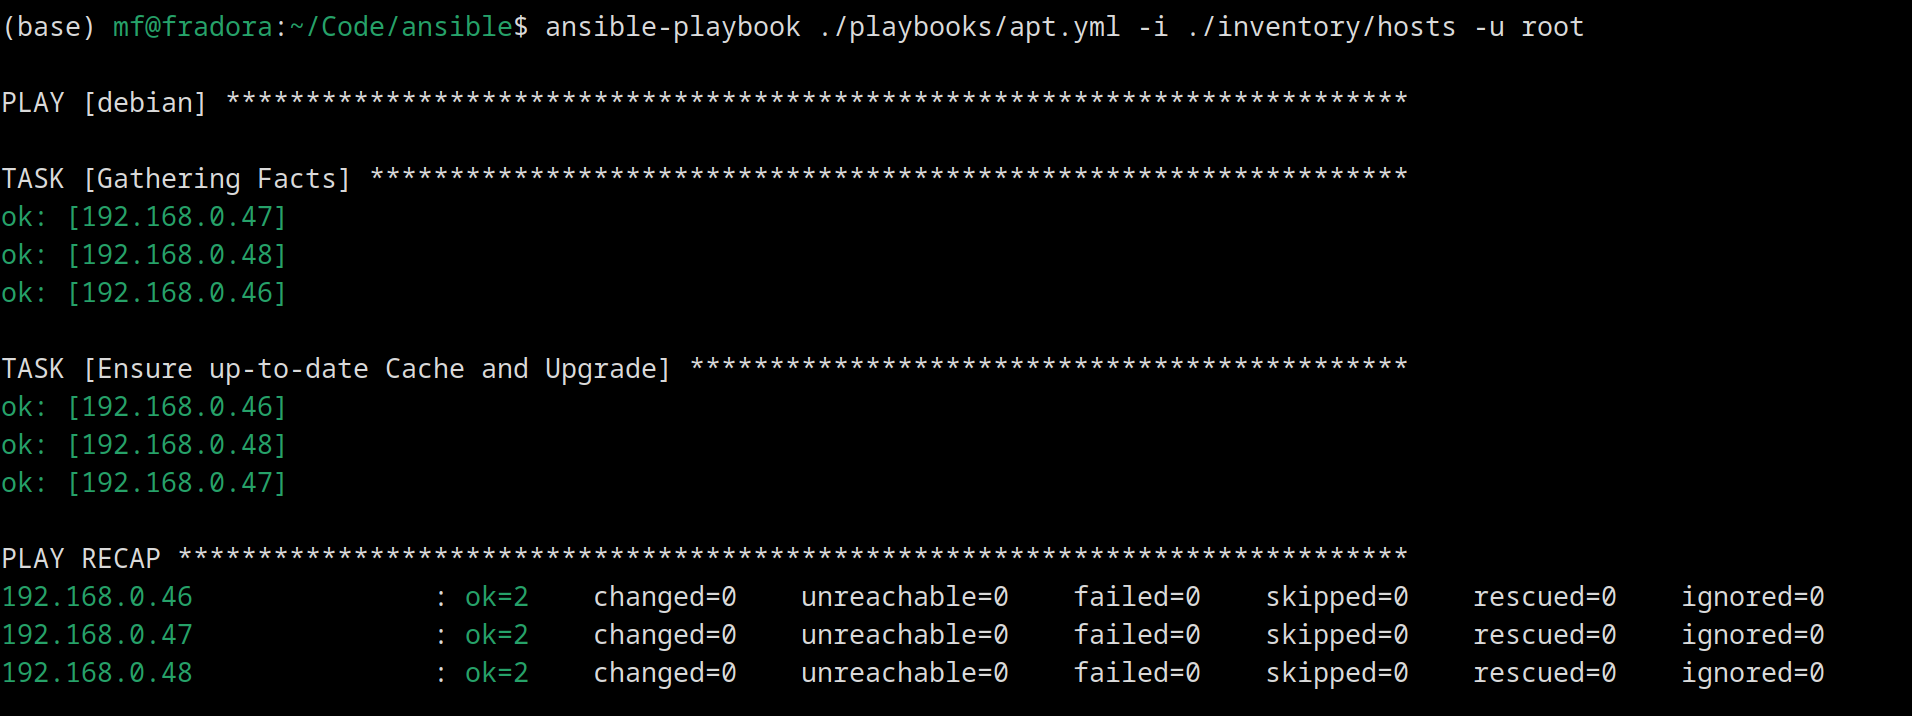
Befehl zum Ausführen des Playbooks:
ansible-playbook ./playbooks/apt.yml -i ./inventory/hosts -u rootUnd so das Playbook:
Und jetzt gleich einen großen Schritt weiter, ein GPT-4o-kreiertes Playbook, welches einen User ansible erstellt, diesen einrichtet (passwordless sudo etc) und SSH-Keys für den Zugriff abspeichert:
---
- name: Ensure ansible user exists with SSH key, passwordless sudo, and a nice environment
  hosts: debian
  become: yes
  tasks:

    # Step 1: Ensure sudo is installed
    - name: Ensure sudo is installed
      ansible.builtin.package:
        name: sudo
        state: present

    # Step 2: Ensure the ansible user is present
    - name: Ensure the 'ansible' user exists
      ansible.builtin.user:
        name: ansible
        state: present
        shell: /bin/bash

    # Step 3: Ensure the .ssh directory exists for the ansible user
    - name: Ensure .ssh directory exists for ansible user
      ansible.builtin.file:
        path: /home/ansible/.ssh
        state: directory
        owner: ansible
        group: ansible
        mode: '0700'

    # Step 4: Add SSH public key for ansible user (simple overwrite)
    - name: Copy SSH public key for ansible user
      ansible.builtin.copy:
        src: /home/mf/.ssh/id_ed25519.pub
        dest: /home/ansible/.ssh/authorized_keys
        owner: ansible
        group: ansible
        mode: '0600'

    # Step 5: Ensure passwordless sudo for ansible user
    - name: Ensure ansible user has passwordless sudo access
      ansible.builtin.copy:
        dest: /etc/sudoers.d/ansible
        content: |
          ansible ALL=(ALL) NOPASSWD: ALL
        owner: root
        group: root
        mode: '0440'

    # Step 6: Ensure a nice default environment (.bashrc)
    - name: Ensure a nice default .bashrc for ansible user
      ansible.builtin.copy:
        dest: /home/ansible/.bashrc
        content: |
          # ~/.bashrc file for ansible user
          export PATH=$PATH:/usr/local/bin
          alias ll='ls -la'
          alias grep='grep --color=auto'
          export EDITOR=vim
        owner: ansible
        group: ansible
        mode: '0644'

    # Step 7: Ensure enhanced shell environment and source .bashrc in .bash_profile
    - name: Ensure enhanced shell environment for ansible user
      ansible.builtin.copy:
        dest: /home/ansible/.bash_profile
        content: |
          # ~/.bash_profile for ansible user
          if [ -f ~/.bashrc ]; then
            . ~/.bashrc
          fi

          PS1='\u@\h:\w\$ '
          HISTSIZE=1000
          HISTFILESIZE=2000
        owner: ansible
        group: ansible
        mode: '0644'
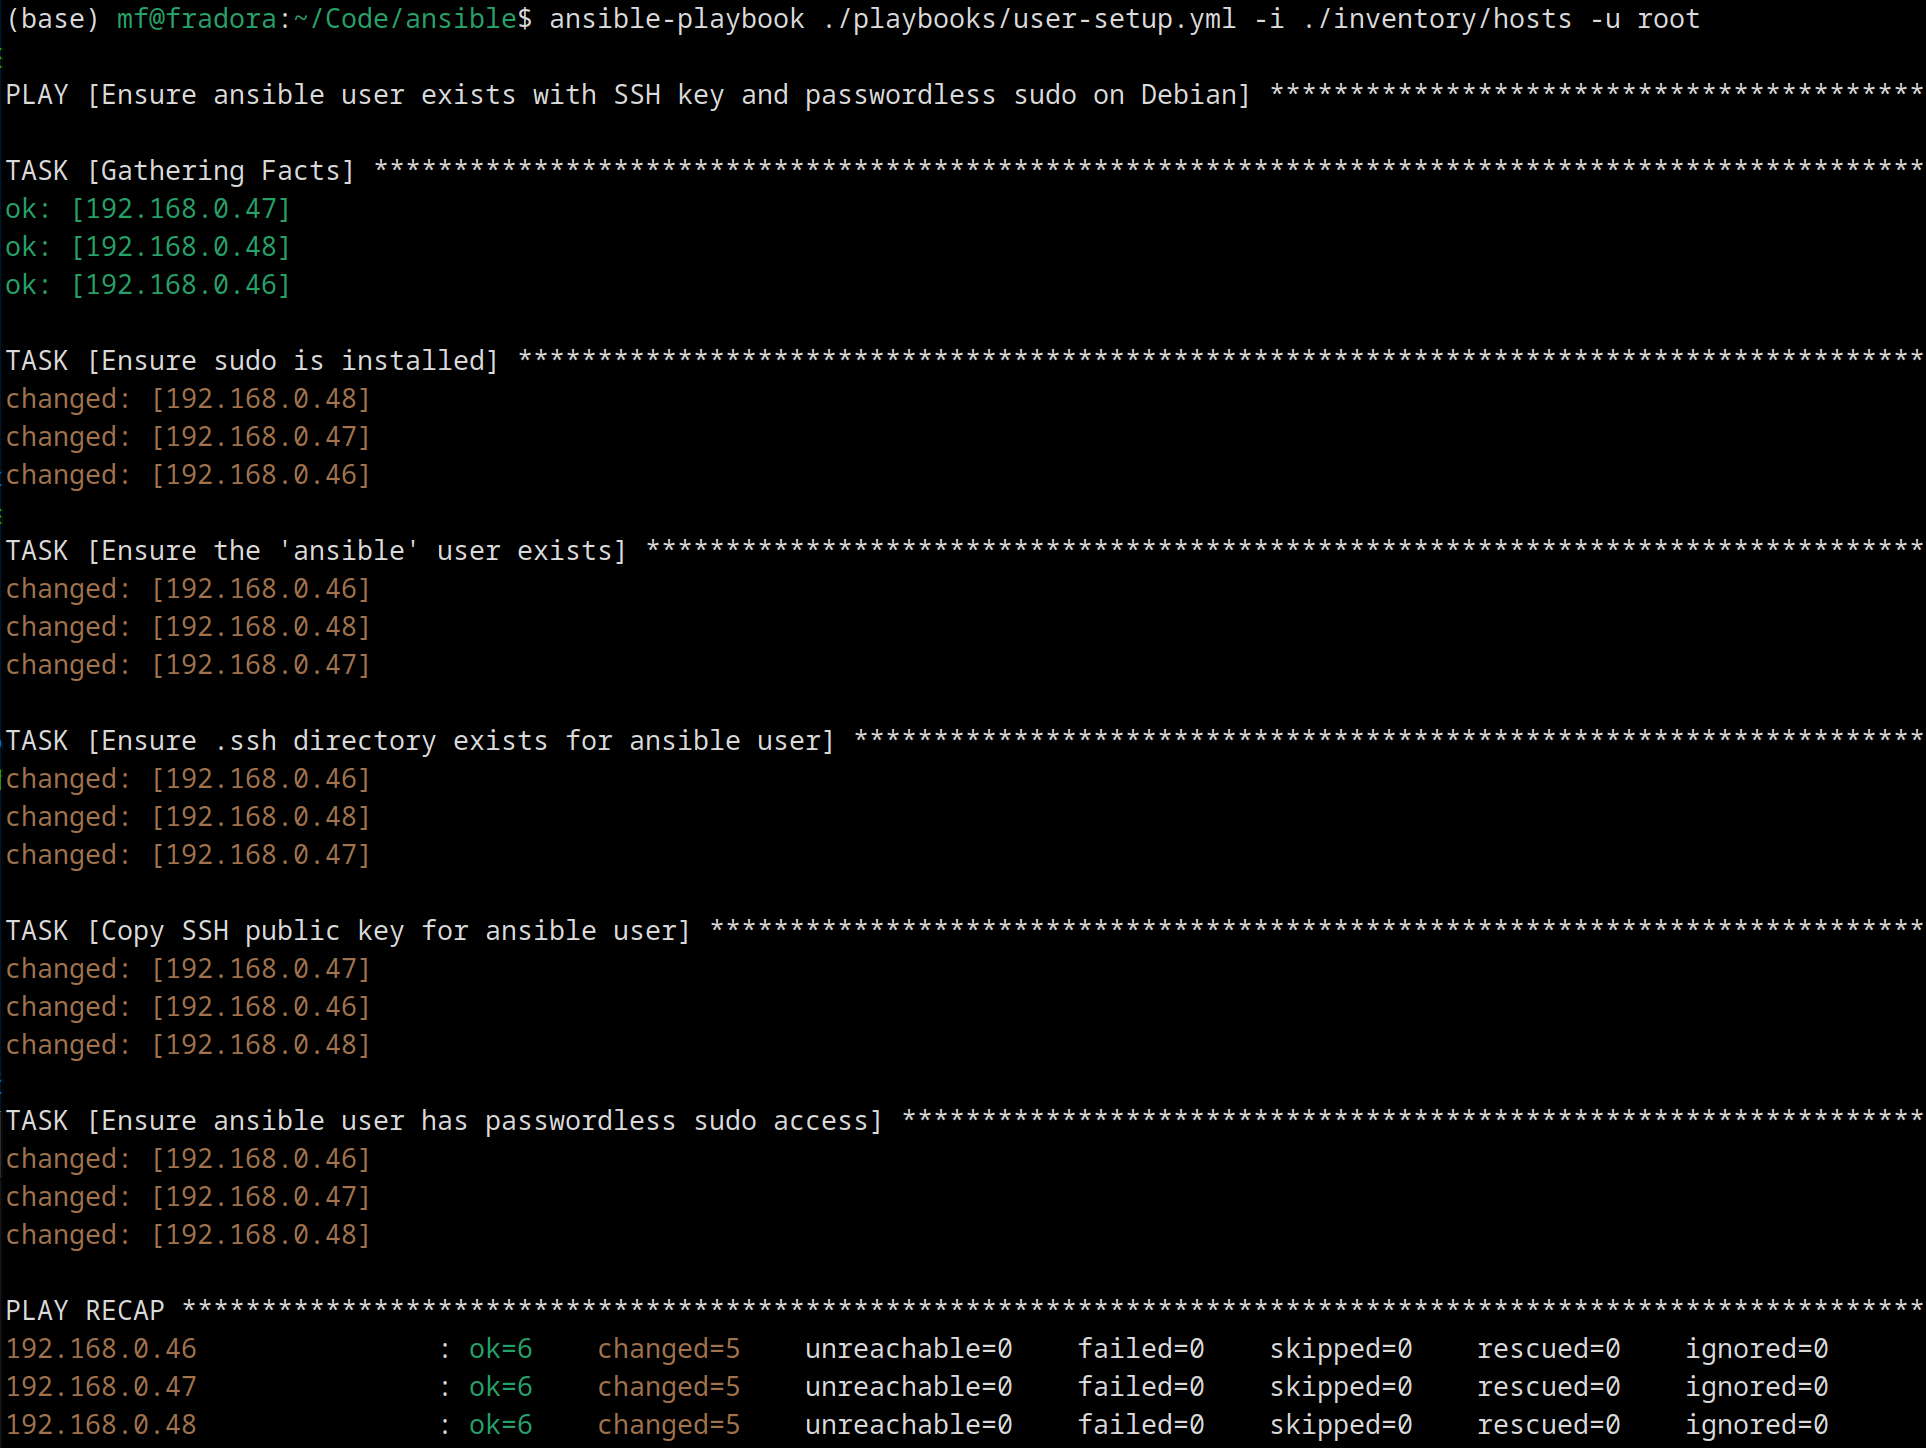
Und so führt man das Playbook aus:
ansible-playbook ./playbooks/user-setup.yml -i ./inventory/hosts -u rootUnd das ist das Ergebnis:
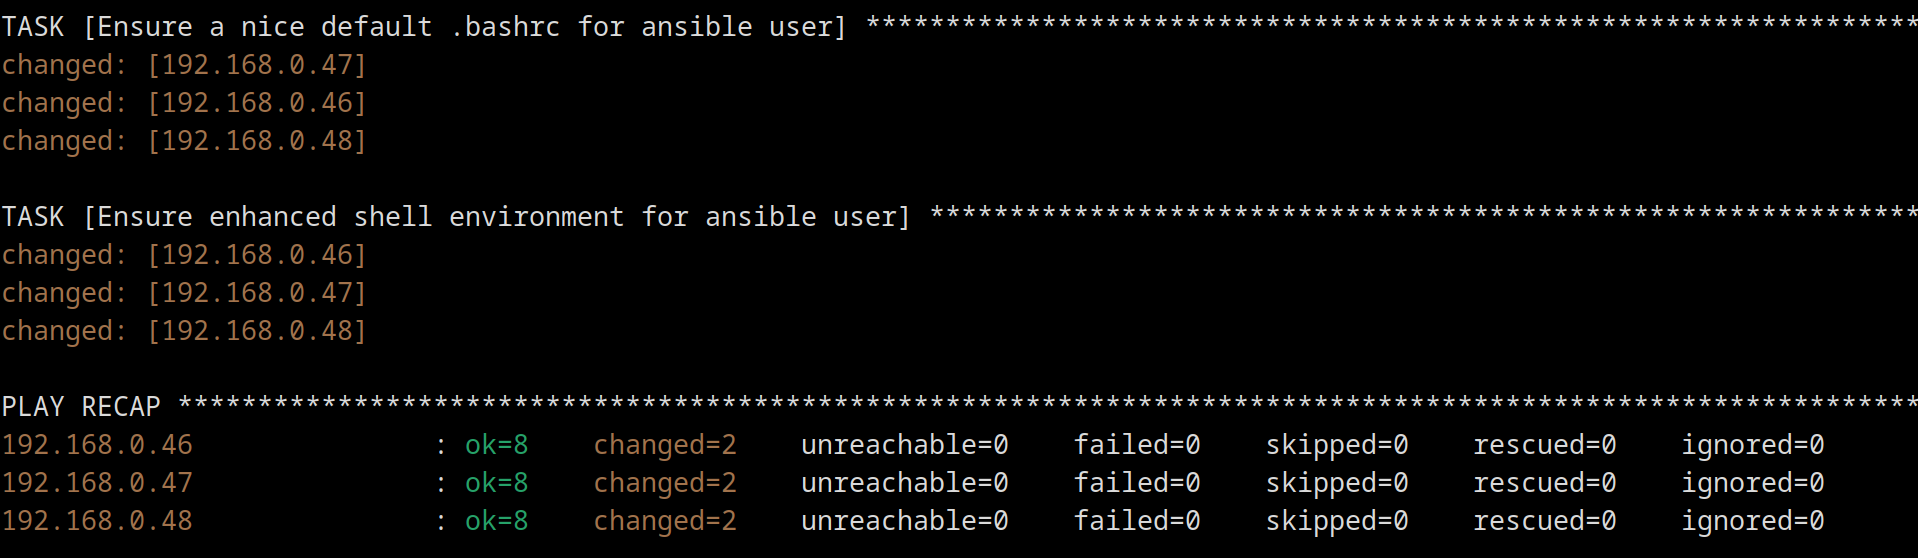
und mit der Einrichtung von .bashrc und der User Umgebung:
Playbook mit Update, Programmen und Zeit:
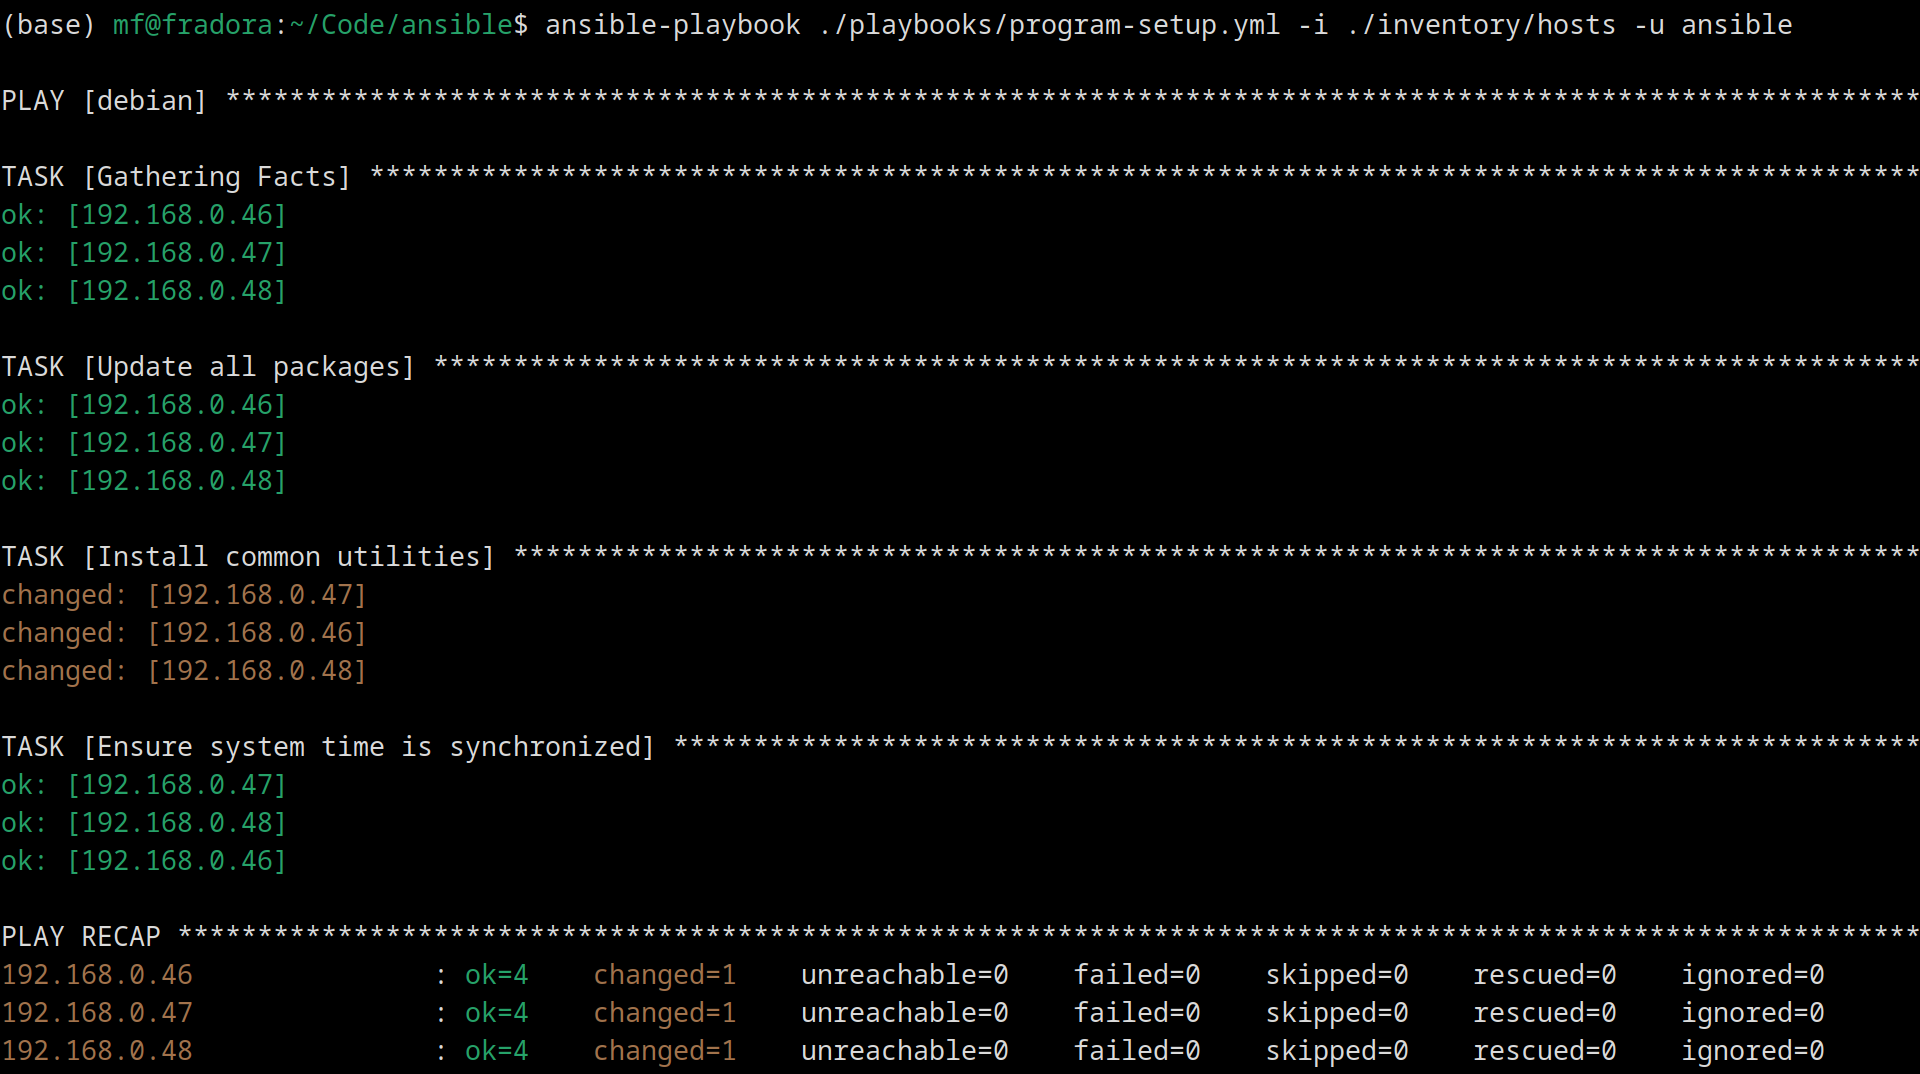
Damit es nicht so leer ist in den Containern ein paar zusätzliche Programme und Überprüfung, ob eh die Uhrzeit synchronisiert wird:
---
- hosts: all
  become: yes
  tasks:
    - name: Update all packages
      apt:
        update_cache: yes
        upgrade: dist

    - name: Install common utilities
      apt:
        name:
          - vim
          - curl
          - htop
          - btop
        state: present

    - name: Ensure system time is synchronized
      apt:
        name: systemd-timesyncd
        state: present
Befehl zum Ausführen:
ansible-playbook ./playbooks/program-setup.yml -i ./inventory/hosts -u ansibleErgebnis:
Fazit
Ansible gefällt mir gut. Die Lernkurve ist nicht niedrig, aber auch nicht zu steil und man kommt schnell zu Ergebnissen. Vor allem die Aspekte der Reproduzierbarkeit sagen mir sehr zu. Das werde ich in Zukunft weiter verfolgen. Zum Beispiel im Folgebeitrag.